🚀 Step 1: Install Swashbuckle
First, open your ASP.NET Core API project and install Swashbuckle.AspNetCore via NuGet.
Using .NET CLI:
1
| dotnet add package Swashbuckle.AspNetCore
|
Using Package Manager:
1
| Install-Package Swashbuckle.AspNetCore
|
Once installed, Swashbuckle will automatically scan your API and generate an OpenAPI (Swagger) specification for you.
Now, modify your Program.cs file to configure Swagger.
Update Program.cs:
 1
 2
 3
 4
 5
 6
 7
 8
 9
10
11
12
13
14
15
16
17
18
19
20
21
22
23
24
25
26
27
28
29
30
31
32
33
34
35
36
37
38
39
| using Microsoft.OpenApi.Models;
var builder = WebApplication.CreateBuilder(args);
// Add services
builder.Services.AddControllers();
builder.Services.AddEndpointsApiExplorer();
builder.Services.AddSwaggerGen(options =>
{
options.SwaggerDoc("v1", new OpenApiInfo
{
Title = "My API",
Version = "v1",
Description = "A simple ASP.NET Core API",
Contact = new OpenApiContact
{
Name = "Your Name",
Email = "your@email.com",
Url = new Uri("https://yourwebsite.com")
}
});
});
var app = builder.Build();
// Enable Swagger
if (app.Environment.IsDevelopment())
{
app.UseSwagger();
app.UseSwaggerUI(c =>
{
c.SwaggerEndpoint("/swagger/v1/swagger.json", "My API v1");
c.RoutePrefix = string.Empty; // Swagger UI available at root URL
});
}
app.UseAuthorization();
app.MapControllers();
app.Run();
|
📜 Step 3: Test Your Swagger UI
Run your project:
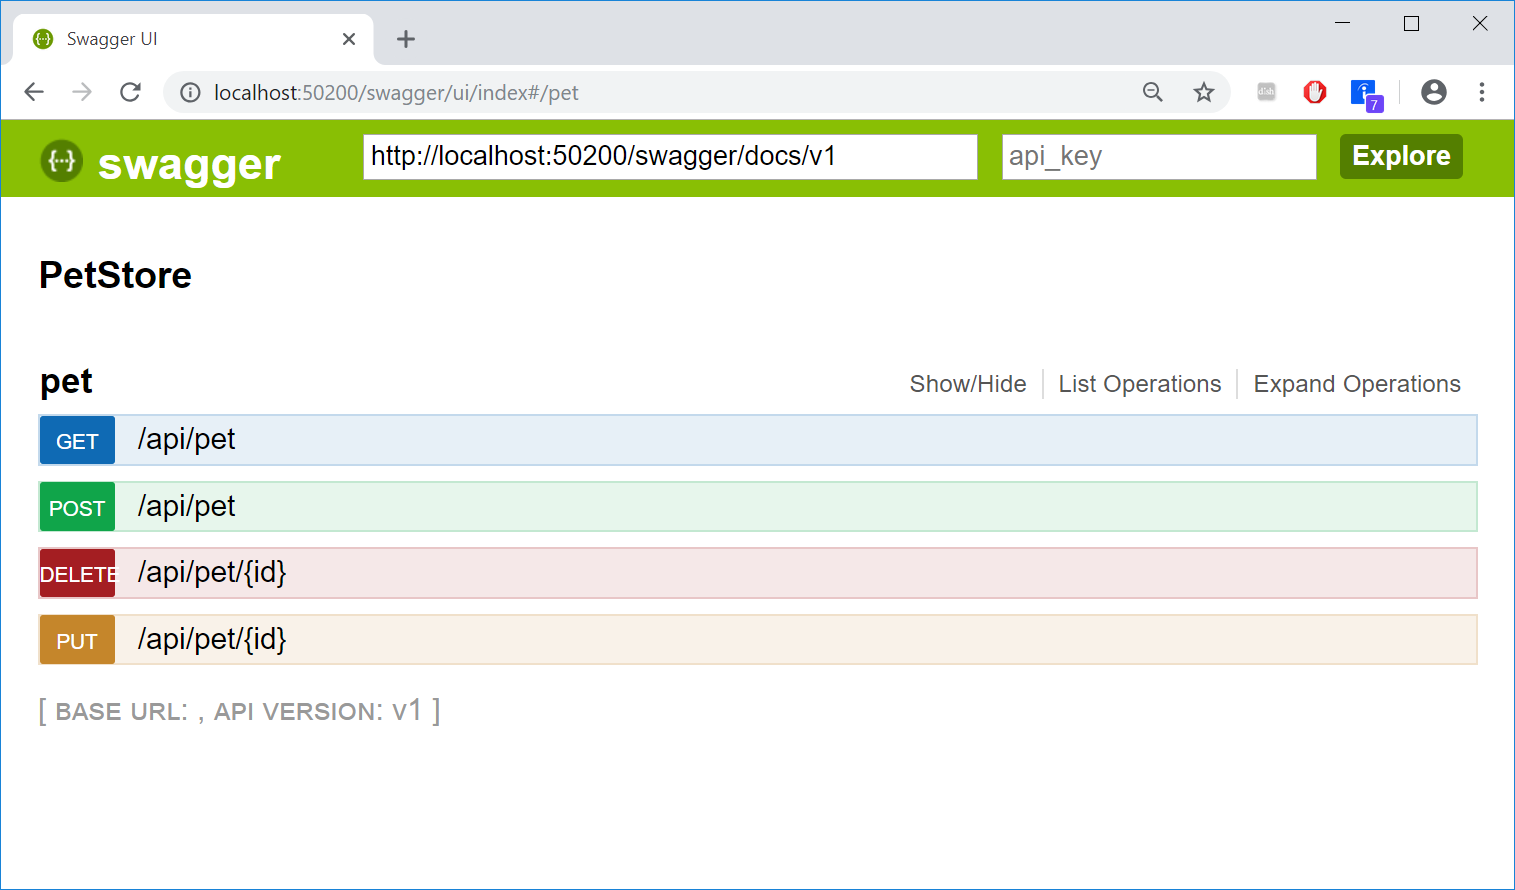
Then, open http://localhost:5000/swagger (or http://localhost:5001/swagger if using HTTPS).
You should see a beautiful Swagger UI, listing all your API endpoints and letting you test them.
🎉 Congrats! Your API is now documented with Swagger! 🎉
🎨 Step 4: Customize Your OpenAPI Docs
Swashbuckle allows you to customize your Swagger UI without writing YAML or JSON.
Example: Adding More API Info
Modify the SwaggerGen options to include:
- License
- Terms of Service
- External Docs
 1
 2
 3
 4
 5
 6
 7
 8
 9
10
11
12
13
14
15
16
17
18
19
20
21
| builder.Services.AddSwaggerGen(options =>
{
options.SwaggerDoc("v1", new OpenApiInfo
{
Title = "Awesome API",
Version = "v1",
Description = "An awesome API with Swagger support!",
TermsOfService = new Uri("https://yourwebsite.com/terms"),
Contact = new OpenApiContact
{
Name = "API Support",
Email = "support@yourwebsite.com",
Url = new Uri("https://yourwebsite.com/contact")
},
License = new OpenApiLicense
{
Name = "MIT License",
Url = new Uri("https://opensource.org/licenses/MIT")
}
});
});
|
Now, your Swagger UI will show a license, contact info, and terms of service.
🔑 Step 5: Add Authentication Support (JWT Bearer Token)
If your API requires authentication, you can add JWT Bearer token support in Swagger UI.
Enable JWT Auth in Program.cs:
 1
 2
 3
 4
 5
 6
 7
 8
 9
10
11
12
13
14
15
16
17
18
19
20
21
22
23
24
25
26
27
28
29
| using Microsoft.OpenApi.Models;
builder.Services.AddSwaggerGen(options =>
{
options.AddSecurityDefinition("Bearer", new OpenApiSecurityScheme
{
Name = "Authorization",
Type = SecuritySchemeType.Http,
Scheme = "Bearer",
BearerFormat = "JWT",
In = ParameterLocation.Header,
Description = "Enter 'Bearer {token}'"
});
options.AddSecurityRequirement(new OpenApiSecurityRequirement
{
{
new OpenApiSecurityScheme
{
Reference = new OpenApiReference
{
Type = ReferenceType.SecurityScheme,
Id = "Bearer"
}
},
Array.Empty<string>()
}
});
});
|
Now, Swagger UI will display an Authorize button, allowing users to enter a JWT token before testing API endpoints.
🏗 Step 6: Organize Endpoints with API Groups
By default, all your endpoints appear under one big “default” section.
You can group your API endpoints using SwaggerDoc.
Define API Versions
Modify SwaggerGen in Program.cs:
1
2
3
4
5
| builder.Services.AddSwaggerGen(options =>
{
options.SwaggerDoc("v1", new OpenApiInfo { Title = "My API", Version = "v1" });
options.SwaggerDoc("v2", new OpenApiInfo { Title = "My API", Version = "v2" });
});
|
Assign Controllers to Versions
In your controllers, add ApiExplorerSettings to specify which Swagger doc they belong to.
 1
 2
 3
 4
 5
 6
 7
 8
 9
10
11
| [ApiController]
[Route("api/v1/users")]
[ApiExplorerSettings(GroupName = "v1")]
public class UsersV1Controller : ControllerBase
{
[HttpGet]
public IActionResult GetUsers()
{
return Ok(new { Name = "John Doe", Age = 30 });
}
}
|
 1
 2
 3
 4
 5
 6
 7
 8
 9
10
11
| [ApiController]
[Route("api/v2/users")]
[ApiExplorerSettings(GroupName = "v2")]
public class UsersV2Controller : ControllerBase
{
[HttpGet]
public IActionResult GetUsers()
{
return Ok(new { FullName = "John Doe", Age = 30, Email = "john@example.com" });
}
}
|
Now, Swagger UI will show separate versions (v1 and v2).