8051 Assembly Language in a Nutshell
The Glorious History of the 8051
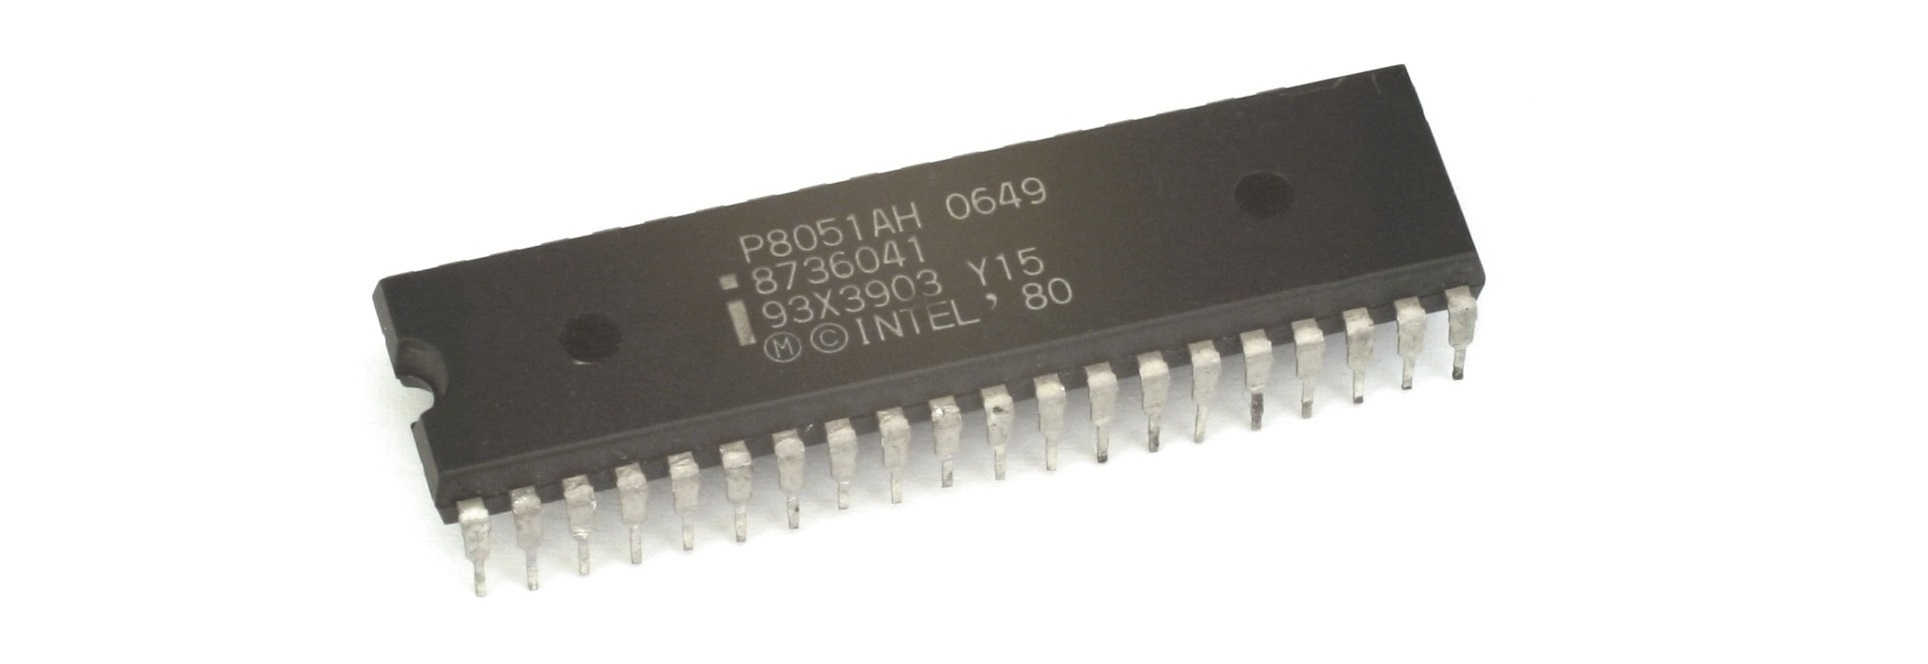
Back in the 1980s, when people still thought fax machines were cool, Intel dropped the 8051 microcontroller. It wasn’t just a CPU; it was an all-in-one wonder chip—processor, RAM, ROM, timers, and I/O all bundled together.
Unlike fancy CPUs that evolved into the beasts we have today, the 8051 stayed simple and reliable.
Why? Because embedded systems don’t need a quad-core monster running at 5GHz.
They need something cheap, low-power, and predictable.
That’s why the 8051 became the go-to microcontroller for everything from washing machines to industrial robots.
Even today, variants of the 8051 are still in production. Why fix what isn’t broken?
8051 Architecture - What’s Inside?
The 8051 is a tiny but mighty beast. Here’s what it packs under the hood:
- RAM: 128 bytes (Yeah, you read that right. Bytes. Not megabytes, not gigabytes. Just bytes.)
- Registers: 32 general-purpose registers (organized into 4 banks)
- ROM: 4 KB (for program storage)
- Timers: 2 (Because one is never enough)
- Serial Port: RS-232 (No HDMI, no VGA, just old-school serial communication)
- I/O Ports: 4 (Each with 8-bit registers for easy control)
By modern standards, this thing is prehistoric, but back in the day, it was the Swiss Army knife of embedded computing.
NO UI!
You want to see something on a screen? Tough luck. The 8051 doesn’t do video, audio, or fancy graphical interfaces. If you want to display something, you have to send it over an RS-232 serial port:
https://en.wikipedia.org/wiki/RS-232
And that’s it. You either hook it up to another computer or use an LED to blink out Morse code.
8051 Instruction Set
Here’s the full list of instructions supported by the 8051:
| Mnemonic | Description |
|---|---|
| MOV | Move data |
| ADD | Add |
| SUBB | Subtract with borrow |
| INC | Increment |
| DEC | Decrement |
| MUL | Multiply |
| DIV | Divide |
| ANL | AND operation |
| ORL | OR operation |
| XRL | XOR operation |
| CJNE | Compare and jump if not equal |
| DJNZ | Decrement and jump if not zero |
| CLR | Clear register/bit |
| SETB | Set bit |
| CPL | Complement bit |
| JMP | Jump |
| CALL | Call subroutine |
| RET | Return from subroutine |
| NOP | No operation (do nothing) |
Example Code: Blinking an LED Using RS-232
| |
This sends the letter ‘H’ endlessly over RS-232. Not quite a GUI, but hey, it works!
Bubble Sort
| |
Clock Interrupts - Making It Do Stuff on a Schedule
Interrupts let you run code at specific intervals. Think of it as setting an alarm clock inside your microcontroller:
| |
This makes the 8051 do something every time the timer overflows.
The 8051 vs. Modern Microcontrollers
Today, if you want to mess around with embedded systems, you’ll probably grab an Arduino. But in the late ’90s, the 8051 was king. Here’s how it stacks up against the modern ATmega328P (used in Arduinos):

| Feature | 8051 | ATmega328P (Arduino) |
|---|---|---|
| Speed | 12 MHz | 16 MHz |
| RAM | 128 Bytes | 2 KB |
| Flash ROM | 4 KB | 32 KB |
| Power Usage | 50 mW | 15 mW |
ITS PRETTY FUNNY - when i looked up the info for the chart above.. I was blown away at the power consumption of ATmega328P being ONLY 15mw!!!
There is something to be said for modern abilities to make microprocessors.
Summary of Key Ideas
| Concept | Explanation |
|---|---|
| 8051 History | Released in the 1980s, still relevant today |
| Architecture | Simple but effective, minimal RAM/ROM |
| No UI | Uses RS-232 for output |
| Instructions | Basic operations like MOV, ADD, and JMP |
| Interrupts | Used for scheduling tasks |
| Comparison | 8051 vs Arduino - old vs. new |